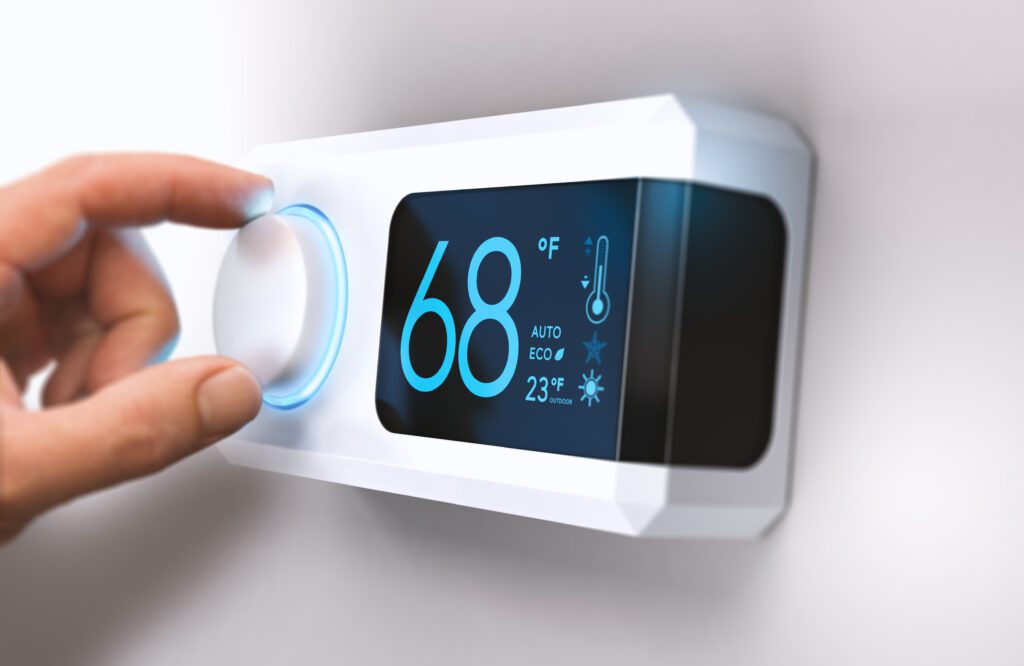
Installing a thermostat is a crucial aspect of maintaining a comfortable and energy-efficient home. For residents in the Eastern Panhandle, understanding the nuances of thermostat installation can lead to better home climates and potential energy savings. Below, we delve into essential tips and insights to ensure a successful installation process.
Understanding the Basics of Thermostat Installation
Before diving into the installation process, it’s essential to understand what a thermostat does and how it operates within your heating and cooling systems. A thermostat measures the ambient temperature, allowing you to control your home’s climate effectively. It acts as the brain of your HVAC system, communicating with your heating and cooling units to maintain the desired temperature set by you. This interaction is crucial for creating a comfortable living environment, particularly in regions with fluctuating weather patterns.
Most modern thermostats are programmable, allowing for automatic adjustments based on your schedule. This feature can significantly enhance energy efficiency, especially during the extreme seasonal variations common in the Eastern Panhandle. By programming your thermostat to lower the temperature when you’re away or asleep, you can reduce energy consumption and lower your utility bills. Some advanced models even allow for remote access via smartphone apps, enabling you to adjust settings on the go, ensuring your home is always at the perfect temperature upon your arrival.
Importance of Proper Thermostat Installation
Proper installation of your thermostat is vital for several reasons. Firstly, it ensures accurate temperature readings; a poorly installed thermostat may yield misleading temperatures, affecting overall comfort. If the thermostat is placed in direct sunlight or near drafts, it may not accurately reflect the room’s temperature, leading to inefficient heating or cooling. Understanding the ideal placement of your thermostat can make a significant difference in performance.
Moreover, correct installation can prevent potential damage to your HVAC system. An incorrectly wired thermostat can lead to malfunction, resulting in costly repairs. Thus, taking the time to install your thermostat correctly can save you from headaches down the line. Additionally, a well-installed thermostat can extend the lifespan of your HVAC system by ensuring it operates within its intended parameters, reducing wear and tear over time.
Tools Needed for Thermostat Installation
Before starting the installation, gather the necessary tools. Here’s a quick list of items you will need:
- Wire stripper or cutter
- Screwdriver (flathead and Phillips)
- Drill (if wall anchors are needed)
- Level
- Voltage tester
- Stud finder
Having these tools handy will make the installation process smoother and more efficient. Each contributes to ensuring your thermostat is installed securely and operationally sound. For instance, using a level ensures that your thermostat is mounted straight, which is not only aesthetically pleasing but also functional, as it can help with accurate temperature readings. Additionally, a voltage tester is crucial for safety, allowing you to confirm that the power is off before you begin working on the wiring, preventing any risk of electric shock.
It’s also advisable to have a user manual for your specific thermostat model on hand, as installation procedures can vary. Familiarizing yourself with the wiring diagrams and setup instructions can save you time and confusion during the installation process. If you’re transitioning from an old thermostat, taking a picture of the existing wiring can serve as a helpful reference when connecting the new unit. This attention to detail will ensure that your new thermostat functions optimally right from the start, providing you with reliable temperature control for years to come.
Choosing the Right Thermostat for Your Eastern Panhandle Home
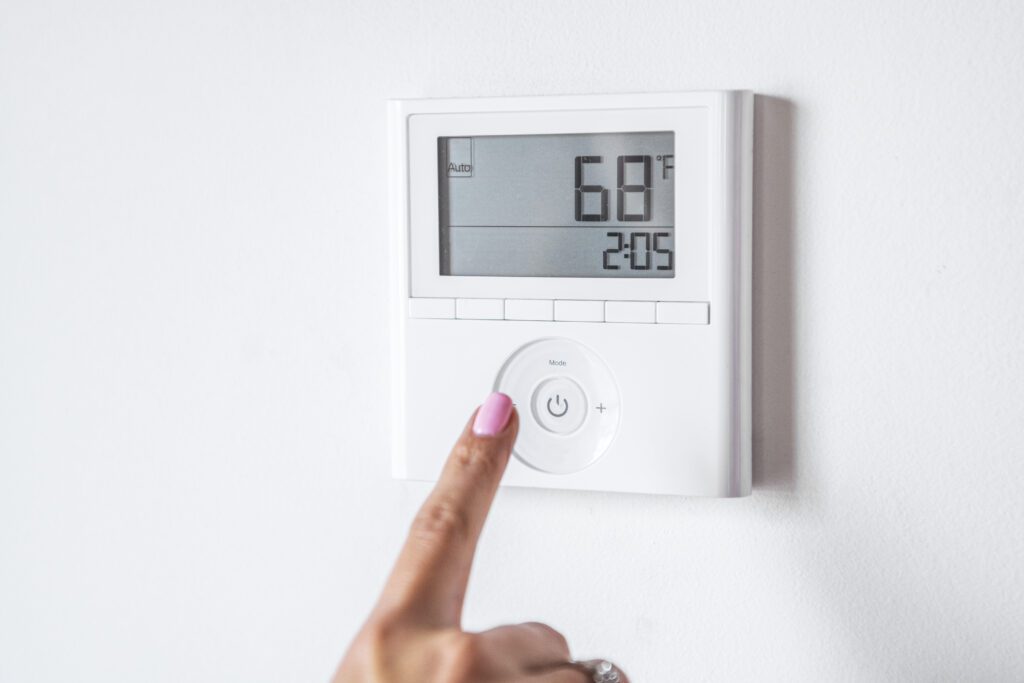
With various models available, selecting the right thermostat for your home is essential. The right choice will depend on your specific heating and cooling needs, personal preferences, and budget.
Take into account factors such as compatibility with your HVAC system, whether you prefer a smart thermostat or a standard model, and any specific features you may want.
Factors to Consider When Choosing a Thermostat
When determining the ideal thermostat for your home, consider the following factors:
- Type of HVAC System: Ensure the thermostat is compatible with your existing heating and air conditioning system, whether it is a furnace, heat pump, or boiler.
- Programmability: A programmable thermostat can help save energy and is ideal for households with set schedules. Options vary from simple to advanced programming features.
- Home Automation: If you plan to integrate your thermostat with a home automation system, opt for a smart thermostat that connects with Wi-Fi and mobile devices.
- Ease of Use: Choose a model with a user-friendly interface, which may include touchscreen controls, directly accessible settings, and clear displays.
Popular Thermostat Brands in Eastern Panhandle
Several reputable thermostat brands stand out in the Eastern Panhandle region. Here are a few notable options:
- Ecobee: Renowned for its smart thermostats that learn your routines and adjust accordingly.
- Nest: Offers a sleek design with powerful learning algorithms and remote control via smartphone apps.
- Honeywell: A well-established brand providing a diverse range of both traditional and smart thermostats.
- Emerson: Known for its robust and user-friendly smart thermostat options.
These brands not only deliver reliability but also come equipped with various features to suit different needs. For instance, many smart thermostats can provide detailed energy usage reports, allowing homeowners to track their consumption and make informed decisions about their heating and cooling habits. This feature can be particularly beneficial in the Eastern Panhandle, where seasonal temperature fluctuations can lead to significant energy costs.
Additionally, some models offer geofencing capabilities, which adjust the temperature based on your location. This means that when you leave home, the thermostat can automatically lower the heating or cooling, and then return to a comfortable setting just before you arrive back. Such innovations not only enhance comfort but also contribute to energy efficiency, making them a smart choice for environmentally conscious homeowners in the region.
Step-by-Step Guide to Thermostat Installation
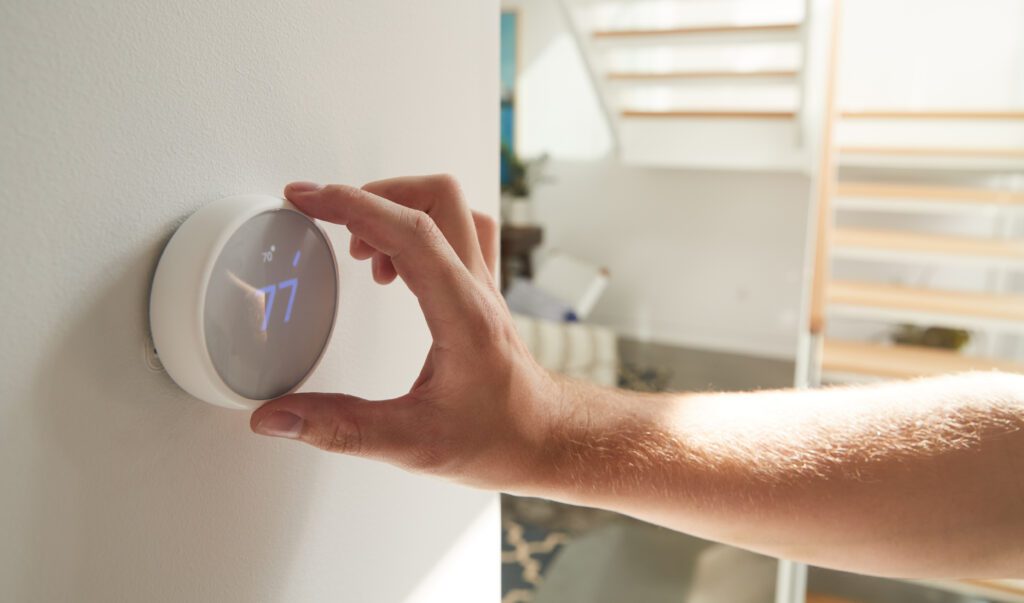
Having selected the appropriate thermostat for your home, you can now proceed with the installation process. Following a systematic approach will lead to a successful setup.
Preparing for Installation
Start by turning off your HVAC system at the breaker to avoid any electric shock. After this, you can carefully remove the existing thermostat. Take a picture of the wire configuration for reference, as this will help in connecting your new thermostat correctly.
Next, use a voltage tester to ensure that no live wires are present. If everything checks out, you can detach the old thermostat and unscrew its mounting plate from the wall. It’s also a good time to clean the wall surface where the new thermostat will be mounted, ensuring that dust or debris won’t interfere with the installation. If you’re replacing an older model, you might find that the wall behind it has some wear and tear; consider patching it up for a neater appearance.
Installing the Thermostat
With the old thermostat removed, install the new mounting plate according to the manufacturer’s instructions. Use a level to ensure the plate is straight, then secure it with screws provided in your thermostat kit.
Next, connect the wires as per your reference photo. Make sure to follow the color codes and terminal labels correctly. If you’re unsure about any of the connections, consult the installation manual or seek guidance from a professional. Once connected, attach the thermostat to the mounting plate, ensuring it snaps or screws into place securely. After installation, take a moment to double-check all connections and ensure that there are no loose wires, as this can lead to operational issues down the line.
Finalizing the Installation
With the thermostat securely installed, restore power to your HVAC system by turning the breaker back on. Following the manufacturer’s configuration steps, adjust your thermostat settings as needed.
Finally, test the system to ensure it’s functioning correctly. This might involve adjusting the temperature or initiating heating or cooling cycles to verify that everything operates as anticipated. Additionally, familiarize yourself with the thermostat’s features, such as programmable settings or Wi-Fi connectivity, which can enhance your home’s energy efficiency. If your new thermostat has a learning feature, allow it some time to adapt to your preferences for optimal performance. Remember to keep an eye on your energy bills in the following months; a well-installed and properly configured thermostat can lead to significant savings and improved comfort in your home.
Troubleshooting Common Thermostat Installation Issues
Even with careful preparation and execution, you may encounter some issues post-installation. Being proactive about troubleshooting can help you resolve these efficiently.
Dealing with Wiring Problems
A common issue is miswiring, which can prevent the thermostat from functioning as intended. If your thermostat does not respond, double-check your wire connections against the manufacturer’s instructions or your reference photo.
If you notice frayed or damaged wires, it’s essential to address these issues promptly by replacing them to avoid potential electric hazards. Additionally, ensure that the wires are securely fastened to their respective terminals, as loose connections can lead to intermittent power issues or erratic thermostat behavior. It’s also a good idea to label each wire before disconnecting them during installation, as this can help prevent confusion and mistakes when reconnecting them.
Addressing Thermostat Compatibility Issues
Sometimes, compatibility problems can arise, especially if you upgraded from a traditional to a smart thermostat. Ensure that your new thermostat is compatible with your HVAC system. If unsure, consulting the manufacturer’s manual or contacting customer support can help clear any confusion.
Remember, not all systems support smart thermostats, especially older models, so verifying compatibility before purchasing can save time and frustration down the line. In some cases, you may need additional equipment, such as a C-wire adapter, to enable full functionality of your new thermostat. It’s also worth considering the features you want from your thermostat; for example, some smart models offer advanced scheduling, remote access via smartphone apps, and integration with home automation systems, which may require specific setups or additional components to function properly.
Maintaining Your Thermostat for Optimal Performance
Once your thermostat is installed, ongoing maintenance is essential for ensuring its optimal performance. A few straightforward practices can keep your thermostat running smoothly for years to come.
Regular Cleaning and Maintenance Tips
Dust and debris can accumulate on your thermostat over time, affecting its sensors and performance. Regularly clean the exterior with a soft cloth, and gently dust the sensor area to ensure it remains unobstructed. It’s also beneficial to periodically check the area around the thermostat for any obstructions, such as furniture or curtains, that might interfere with its ability to accurately gauge the room temperature.
Additionally, check for any loose connections or worn wires at least once a year. This proactive approach can prevent future issues and ensure reliable operation. Consider using a multimeter to test the electrical connections, as this can help identify any potential problems before they escalate. Furthermore, if your thermostat is programmable, take the time to review and update your settings seasonally to align with your heating and cooling needs, ensuring maximum efficiency.
When to Seek Professional Help for Thermostat Issues
While many thermostat installations are straightforward, some scenarios may require professional assistance. If you encounter persistent wiring issues or system malfunctions, it’s wise to consult an HVAC technician. They can help diagnose problems that may not be immediately apparent, such as issues with the HVAC system itself or the thermostat’s compatibility with your heating and cooling units.
Professional technicians can provide insights into more complex problems, ensuring your system operates safely and efficiently. Investing in professional help when needed can save you from costly repairs in the future. Additionally, regular professional maintenance checks can extend the lifespan of your HVAC system, as technicians can identify and rectify small issues before they develop into major concerns. This not only enhances the performance of your thermostat but also contributes to a more comfortable living environment.

