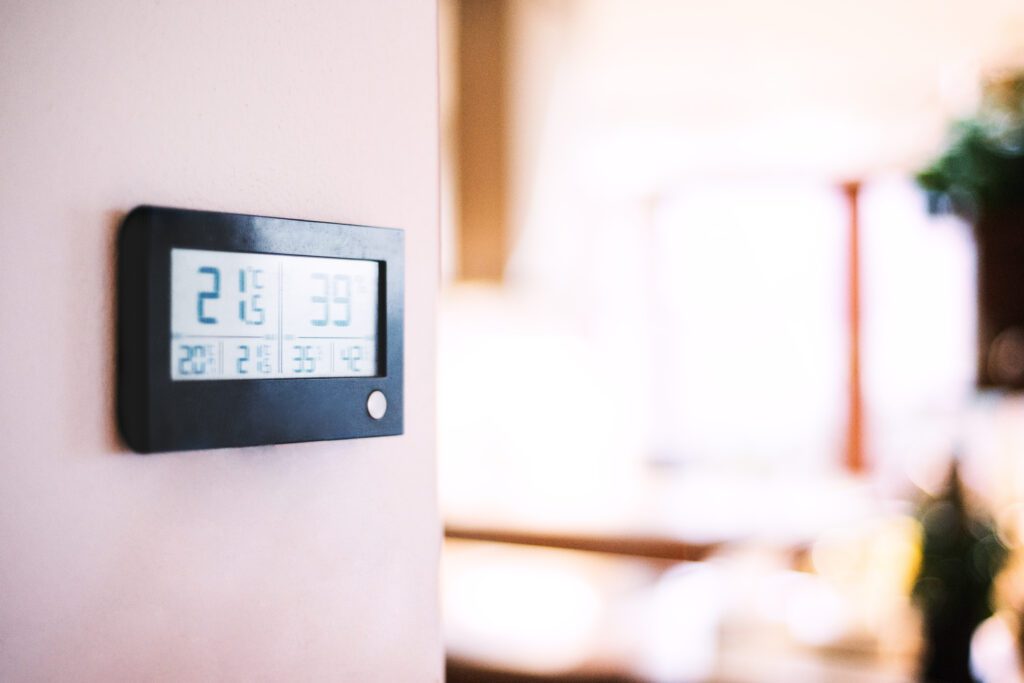
Are you looking to install a thermostat in your home in Martinsburg, WV? Whether you’re a seasoned DIY enthusiast or a first-time homeowner, understanding the process of thermostat installation is essential. In this guide, we will take you through the basics, step-by-step instructions, troubleshooting tips, and maintenance practices for a successful thermostat installation in your Martinsburg, WV home.
Understanding the Basics of Thermostat Installation
Before embarking on your thermostat installation journey, it’s important to have a good grasp of the basics. Two main types of thermostats are commonly used: programmable and smart thermostats.
When it comes to thermostat installation, understanding the wiring is crucial. Thermostats typically have several wires that connect to your heating and cooling system. These wires are color-coded and correspond to specific functions such as power supply, heating, cooling, and fan control. It’s essential to label these wires before disconnecting the old thermostat to ensure a smooth installation process.
Types of Thermostats
Programmable thermostats allow you to set temperature schedules throughout the day. You can adjust the temperature according to different times and days of the week, optimizing energy efficiency and comfort.
Smart thermostats take programmable thermostats a step further by connecting to the internet and allowing remote control. With a smart thermostat, you can adjust temperature settings using a smartphone app or voice commands.
Choosing the right thermostat location is also critical for efficient operation. It’s recommended to install the thermostat on an interior wall away from direct sunlight, drafts, doorways, and windows. This ensures that the temperature readings are accurate and reflective of the overall comfort in your home.
Tools Needed for Installation
Before you start the installation process, make sure you have the necessary tools. Common tools required include a screwdriver, wire cutters, wire strippers, a level, and possibly a power drill. It’s essential to use insulated tools to avoid any electrical accidents.
Additionally, having a voltage tester can help ensure that the power is safely turned off before beginning the installation. This tool allows you to verify that there is no electrical current running through the wires, reducing the risk of electric shock.
Preparing for Thermostat Installation
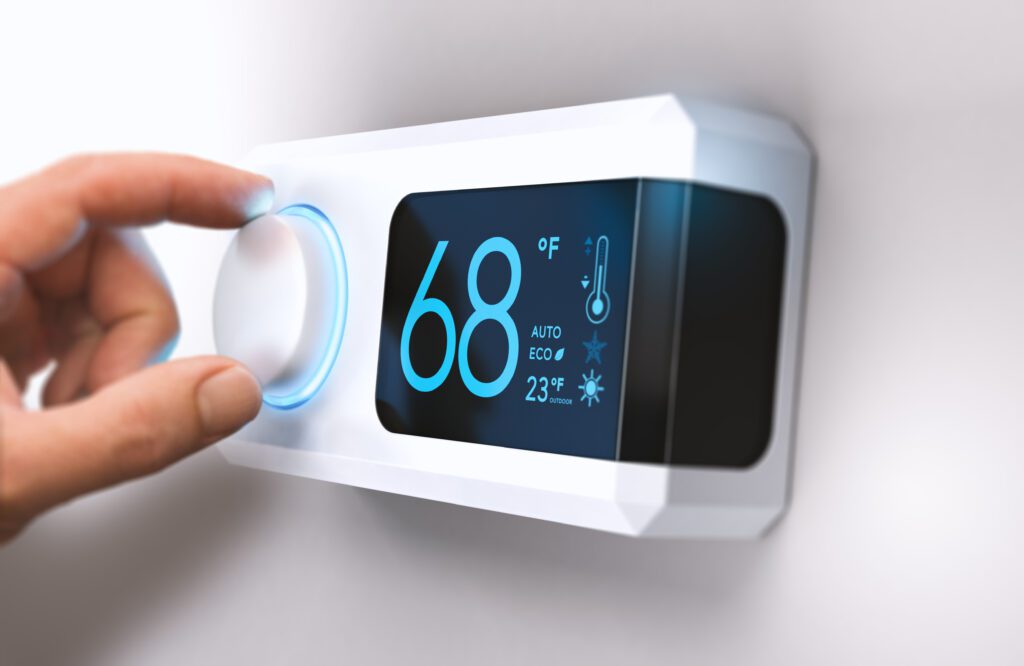
Before you begin installing your new thermostat, there are a few important steps to consider to ensure a successful installation. Taking the time to properly prepare will help you avoid common pitfalls and ensure that your new thermostat functions correctly.
One crucial step to take before starting the installation process is to gather all the necessary tools and materials. This may include a screwdriver, wire cutter/stripper, level, and the new thermostat itself. Having everything you need on hand will streamline the installation process and prevent any unnecessary delays.
Safety Measures to Consider
When working with electrical components, safety should always be a priority. Before starting the installation process, make sure to turn off the power to your heating and cooling system at the circuit breaker. This ensures your safety and prevents any damage to your HVAC system or thermostat. It’s also a good idea to use a voltage tester to double-check that the power is indeed off before proceeding.
Additionally, consider wearing personal protective equipment, such as gloves and safety goggles, to protect yourself from any potential electrical hazards. Working in a well-lit area will also help you see clearly and avoid mistakes during the installation process.
Assessing Your HVAC System Compatibility
Not all thermostats are compatible with every HVAC system. It’s important to check the compatibility of your new thermostat with your heating and cooling system. Read the manufacturer’s instructions or consult a professional if you are unsure. Some thermostats require a C-wire for power, so make sure to verify if your system has this wire or if you need to install a power adapter for compatibility.
Understanding the wiring of your HVAC system is also crucial for a successful installation. Take the time to label the wires before disconnecting the old thermostat to ensure you can easily connect them to the new thermostat. If you are unsure about any part of the installation process, don’t hesitate to seek guidance from a professional to avoid any costly mistakes.
Step-by-Step Guide to Thermostat Installation
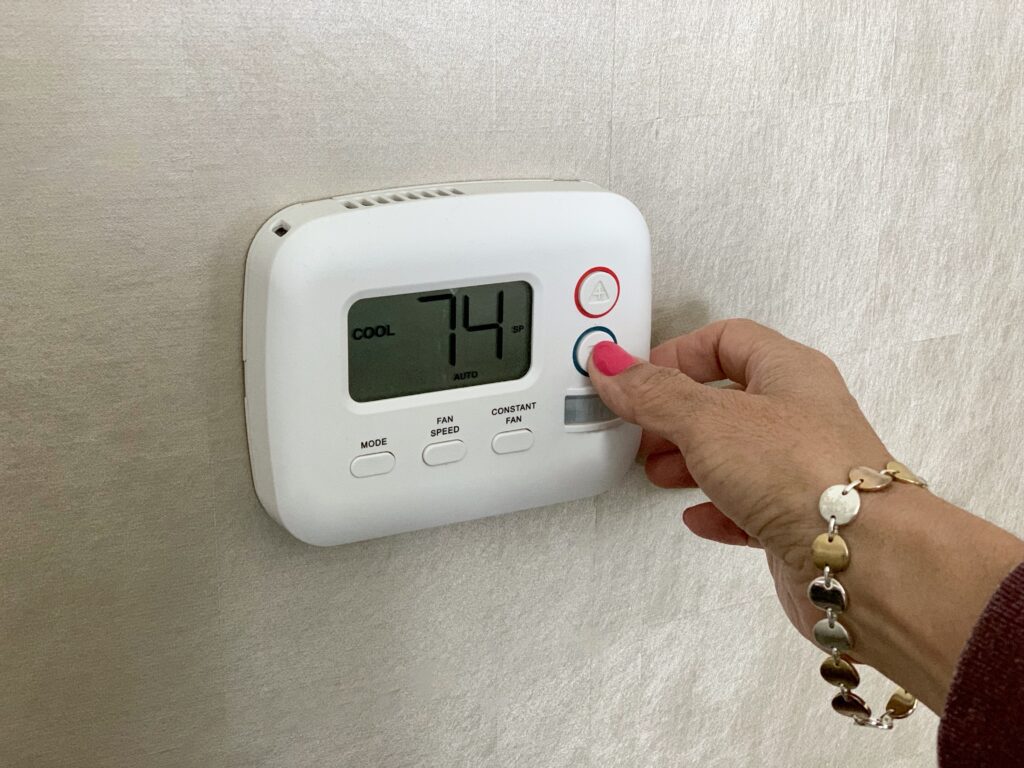
Now that you have a good understanding of the basics and have taken the necessary precautions, it’s time to install your thermostat. Installing a thermostat may seem like a daunting task, but with the right guidance, you can successfully complete the process and enjoy the benefits of a properly functioning HVAC system.
Before you begin the installation process, it’s essential to ensure that you have the correct tools on hand. You may need a screwdriver, wire strippers, electrical tape, and a level to ensure the thermostat is mounted correctly. Having these tools readily available will streamline the installation process and prevent any unnecessary delays.
Removing the Old Thermostat
Start by removing the cover of your old thermostat. Usually, it will pop off or have a few screws to remove. It’s important to handle the old thermostat with care to avoid damaging the wires or the wall. Take your time during this step to prevent any accidental mishaps that could complicate the installation process.
Once you have exposed the wiring, take a photo of the wiring configuration or label each wire with the corresponding terminal letter. This meticulous approach will serve as a helpful reference when connecting the wires to your new thermostat. By documenting the wiring setup, you can avoid confusion and ensure a smooth transition to the new device.
Installing the New Thermostat
After removing the old thermostat, it’s time to install the new one. Begin by attaching the baseplate to the wall using screws or adhesive strips. Make sure the baseplate is level to guarantee a secure fit for the thermostat. Take your time during this step to ensure the baseplate is properly aligned before proceeding with the wiring.
Once the baseplate is securely in place, connect the wires to their corresponding terminals on the new thermostat. Refer to the manufacturer’s instructions for detailed guidance on wire placement and compatibility. Double-check each connection to verify that the wires are correctly seated to prevent any electrical issues once the thermostat is operational.
After connecting the wires, snap the thermostat display onto the baseplate and power on the HVAC system. Take a moment to admire your handiwork before following any additional setup instructions provided by the manufacturer. By following these steps diligently, you can successfully install your new thermostat and enjoy a comfortable indoor environment controlled to your preferences.
Troubleshooting Common Thermostat Installation Issues
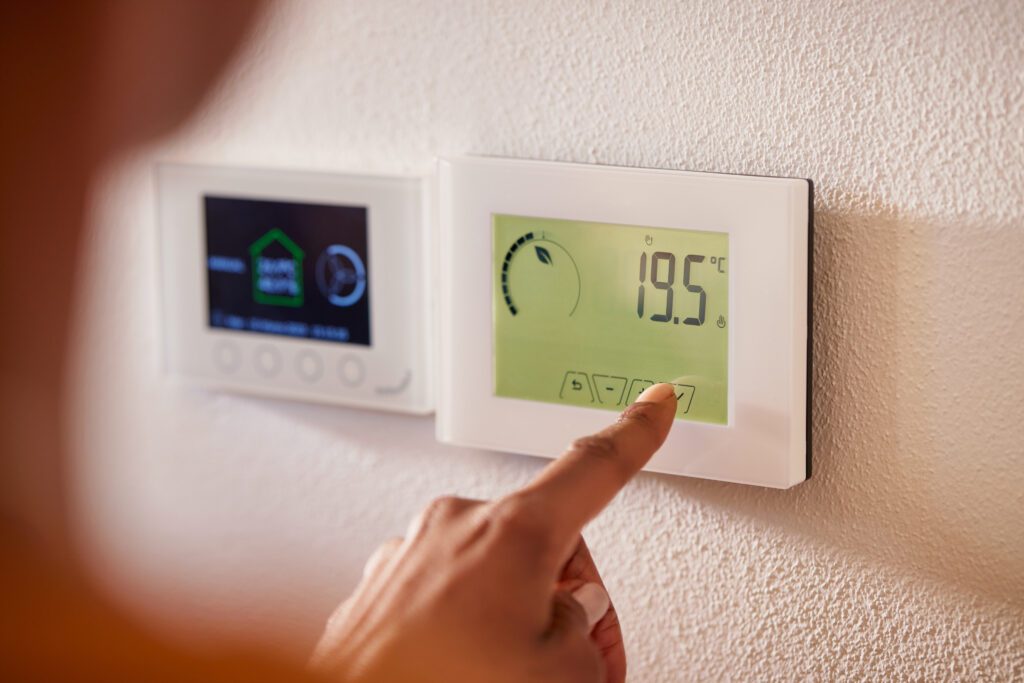
Even with proper preparation and following the installation steps correctly, you may encounter some issues during or after installation. Here are two common problems you might face and how to address them.
When installing a thermostat, it’s crucial to pay close attention to the wiring to ensure everything is connected properly. However, even with careful installation, wiring problems can still arise. If you find that the thermostat isn’t turning on or the heating and cooling system isn’t responding, it’s possible that there are issues with the wiring. Double-check the wiring connections, ensuring they are securely in place. Sometimes, wires can come loose during installation or get damaged, leading to connectivity issues. If the problem persists, consult a professional for further assistance to avoid any potential safety hazards.
Dealing with Wiring Problems
If you find that the thermostat isn’t turning on or the heating and cooling system isn’t responding, it’s possible that there are issues with the wiring. Double-check the wiring connections, ensuring they are securely in place. If the problem persists, consult a professional for further assistance.
Another common issue that homeowners face after installing a new thermostat is related to display problems. If you notice display issues such as incorrect temperature readings or a blank screen, it can be frustrating and concerning. In such cases, try resetting the thermostat to see if that resolves the issue. Refer to the manufacturer’s instructions to determine the appropriate reset method for your specific thermostat model. Resetting the thermostat can sometimes recalibrate the display and resolve minor issues. However, if the problem continues even after resetting, it may be a sign of a faulty thermostat that requires professional inspection and repair.
Addressing Thermostat Display Issues
If you notice display issues such as incorrect temperature readings or a blank screen, try resetting the thermostat. Refer to the manufacturer’s instructions to determine the appropriate reset method for your specific thermostat. If the problem continues, it may be a sign of a faulty thermostat and professional help may be necessary.
Maintaining Your Newly Installed Thermostat
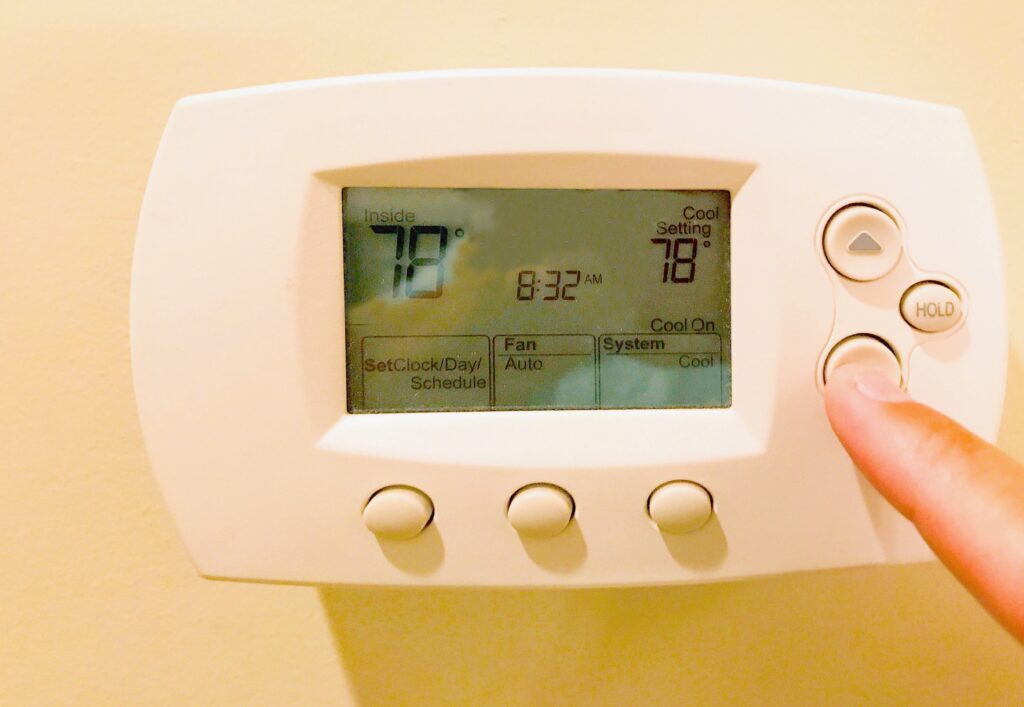
Once your thermostat is successfully installed, regular maintenance is crucial to ensure its longevity and optimal performance.
After installing your thermostat, it’s important to familiarize yourself with its features and settings. Take the time to understand how to program it for different times of the day and seasons to maximize energy efficiency and comfort in your home. By customizing the settings to your lifestyle, you can ensure that your HVAC system operates efficiently and helps you save on energy costs.
Regular Cleaning and Upkeep
Keep your thermostat clean by dusting it regularly with a soft cloth. Avoid using harsh cleaning agents as they might damage the display. Additionally, periodically check the batteries and replace them when needed to prevent any interruptions in thermostat operation.
Furthermore, consider calibrating your thermostat annually to ensure accurate temperature readings. This simple step can help maintain a comfortable indoor environment and prevent your HVAC system from overworking or underperforming.
When to Seek Professional Help
If you encounter complex issues or are unsure about any aspect of your thermostat installation, it’s always best to seek professional help. An HVAC technician can provide expert guidance and resolve any problems that arise during or after the installation process.
By following this ultimate guide to thermostat installation in Martinsburg, WV, you can confidently install and maintain your thermostat, ensuring optimal comfort and energy efficiency in your home. Thermostat installation may seem daunting at first, but with the right knowledge and tools, you can successfully complete the process and enjoy the benefits of a well-functioning thermostat system.

